Cleaning and Sterilising Baby Bottles
Sep 18, 2025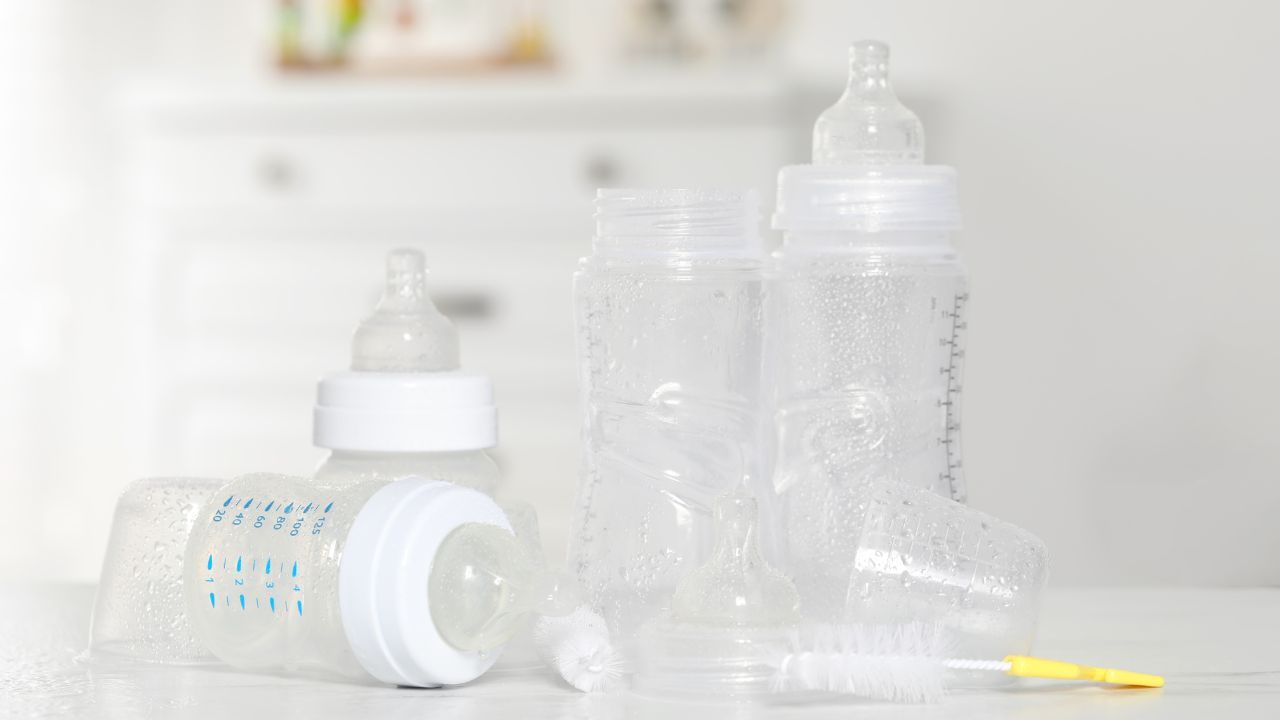
Keeping bottles clean and germ-free is essential for your baby's health, especially in the early months.
Cleaning Bottles Thoroughly
Before you sterilise anything, it’s essential to clean all bottles properly to remove any milk residue. Leftover milk can reduce the effectiveness of sterilisation and lead to bacterial growth.
1. Disassemble all parts
Take apart bottles completely—this includes teats, caps, rings, discs and valves.
2. Rinse promptly
If you’re not washing the bottle straight away, rinse it as soon as possible after a feed. This helps prevent milk from drying on, making cleaning easier later.
Cleaning Method 1: Hand Washing
-
Wash all bottle parts in hot, soapy water using a clean, dedicated bottle brush.
-
Pay special attention to:
-
Inside corners of the bottle
-
Inside and outside of teats — squirt water through the teat hole to ensure it’s clear
-
Threads around the bottle neck and lids
-
- After washing, rinse all parts thoroughly.
Cleaning Method 2: Using a Dishwasher
Dishwashers can be a convenient way to clean bottles, especially on a hot wash cycle with a heated dry. However, most will sanitise rather than fully sterilise, as they don’t always reach the high temperatures required to kill all bacteria.
If using a dishwasher:
-
Check that the bottle is dishwasher-safe
-
Place bottles on the top rack
-
Use a hot wash, ideally with a heated dry cycle
-
Place small parts (teats, rings, caps) in a dishwasher-safe basket to prevent loss
After washing, check all parts—particularly teats and corners. These spots may still hold milk residue. Use a bottle or teat brush if needed for a more thorough clean.
Sterilising
Sterilising is especially important for babies under 3 months, or those who are immune-compromised, as they are more vulnerable to infection.
In Australia, sterilising bottles is recommended until your baby is 12 months old.
In New Zealand, it is recommended until your baby is at least 6 months old.
Below, we outline five main ways to sterilise bottles.
1. Electric Steam Sterilisation
Steam sterilisers use high-temperature steam to kill bacteria on bottles and feeding equipment—without the need for chemicals. Benchtop electric sterilisers are dedicated appliances designed specifically for this purpose.
How to use:
-
Fill the base with water, following the manufacturer’s instructions
-
Load the cleaned bottles and parts into the steriliser. Ensure that they are separated and the opening is facing down.
-
Run the cycle
-
Allow it to cool before opening to avoid steam burns
Sterility Tip: Check the manufacturer's instructions, but some advise that bottles will be sterile for up to 24 hours if the lid stays closed and the unit is not opened.
✅ Pros:
-
Easy and effective
-
Many models fit 6+ bottles
❌ Cons:
-
Takes up bench space
-
Needs descaling
-
Heat may cause gradual plastic wear
2. Microwave Steam Sterilisation
A fast, compact option using microwave-safe containers, bags, or self-sterilising bottles to steam sterilise.
How to use:
-
Add the correct amount of water.
- Load the cleaned bottles and parts into the steriliser. Ensure that they are separated and the opening is facing down.
-
Heat as instructed (usually 2–6 minutes)
-
Let it cool before opening to avoid steam burns
✅ Pros:
-
Great for travel (if a microwave is available)
-
Compact and quick
❌ Cons:
-
Bottles must be microwave-safe
-
High heat can affect plastic durability over time
3. Cold Water Antibacterial Sterilisation
This method uses cold water combined with an antibacterial solution or tablets (e.g. Milton).
How to use:
-
Fill a clean plastic container with cold tap water
-
Add anti-bacterial sterilising tablets or solution
-
Submerge all items, making sure there are no air bubbles
-
Soak for at least 15 minutes (follow product instructions)
-
Items can stay sterile in solution for up to 24 hours
- Wash the container with soapy water and rinse before making the new solution.
✅ Pros:
-
Budget-friendly
-
No heat or electricity required
❌ Cons:
-
Although non-toxic, there can be a chemical smell
-
May corrode metal
4. Boiling (Traditional Method)
A tried-and-true traditional method.
How to use:
-
Place washed items in a large pot
- Cover with cold tap water
-
Make sure everything is fully submerged and there are no air bubbles
-
Bring water to the boil for 5 minutes
-
Let cool and remove with clean tongs
✅ Pros:
-
No special equipment needed
-
Very effective and is recommended as the preferred option for sterilising as the results are reliable and consistent
❌ Cons:
-
Requires supervision while boiling.
-
High heat can weaken plastics over time, especially teats, which may become worn.
- Care needs to be taken to avoid scalds or burns, especially when children are around.
5. UVC Sterilisation
This method uses Ultraviolet C light to kill bacteria.
How to use:
-
Spread bottles so all surfaces are exposed
-
Run the device for the recommended cycle
✅ Pros:
-
No heat, water, or chemicals
-
Portable and battery-operated models available
-
Some models include drying features
❌ Cons:
-
Only works on surfaces the light touches
- Plastics and silicone may degrade over time, so check with the manufacturer to confirm that the bottles are suitable for use in a UVC steriliser.
-
Not officially recognised by all health authorities as a sterilisation method
After Sterilising
-
Depending on the method used, sterilised bottles can often be left inside the steriliser for up to 24 hours, as long as the lid remains closed and the unit stays sealed.
-
Before handling sterilised items, wash your hands thoroughly or use clean tongs. Try to touch only the outside of bottles and teats—avoid contact with the inside surfaces or teat tips to keep them as clean as possible.
-
Once the items have cooled, you can reassemble the bottles and replace the lids, or store the bottle parts in a clean, covered container until needed.
-
If bottles or equipment haven’t been used within 24 hours, it's safest to sterilise them again before feeding.
-
Drying is not necessary after sterilisation, as it can increase the risk of reintroducing bacteria. Avoid using old tea towels or placing them on unclean dish racks, as these can introduce germs.
Final Thoughts
There’s no one-size-fits-all way to sterilise bottles. The best method is one that fits your lifestyle, routine, and baby’s needs—whether that’s a plug-in steam unit on your bench, a cold water solution on a camping trip, or a quick microwave bag in the middle of the night.
Whatever method you choose, the golden rule remains: always start with clean bottles. Once you’ve got a rhythm, bottle-feeding becomes much simpler.
Join Our Community
✔️ Weekly MyTots™ emails with practical, expert-written feeding articles.
✔️ Extra tips and insights we found especially helpful as first-time parents.
✔️ Choose your free welcome gift download:
• Visual Contrast Cards
• 5 Most Affordable Formulas Comparison
• Baby Formula Change Tracker
• Aussie Babies’ 50 First Foods Checklist
Unsubscribe anytime. By registering, you agree to the MyTots™ Terms and Conditions.

